Coffee Cupping
Share
What is coffee cupping?
Coffee cupping is a simple method used to taste and evaluate coffee. It’s commonly used by coffee professionals to assess quality and compare different coffees. Cupping is a useful method for coffee evaluation because of its simplicity – there is very little room for any error introduced in the brewing process. This means it can be easily replicated across the coffee supply chain.
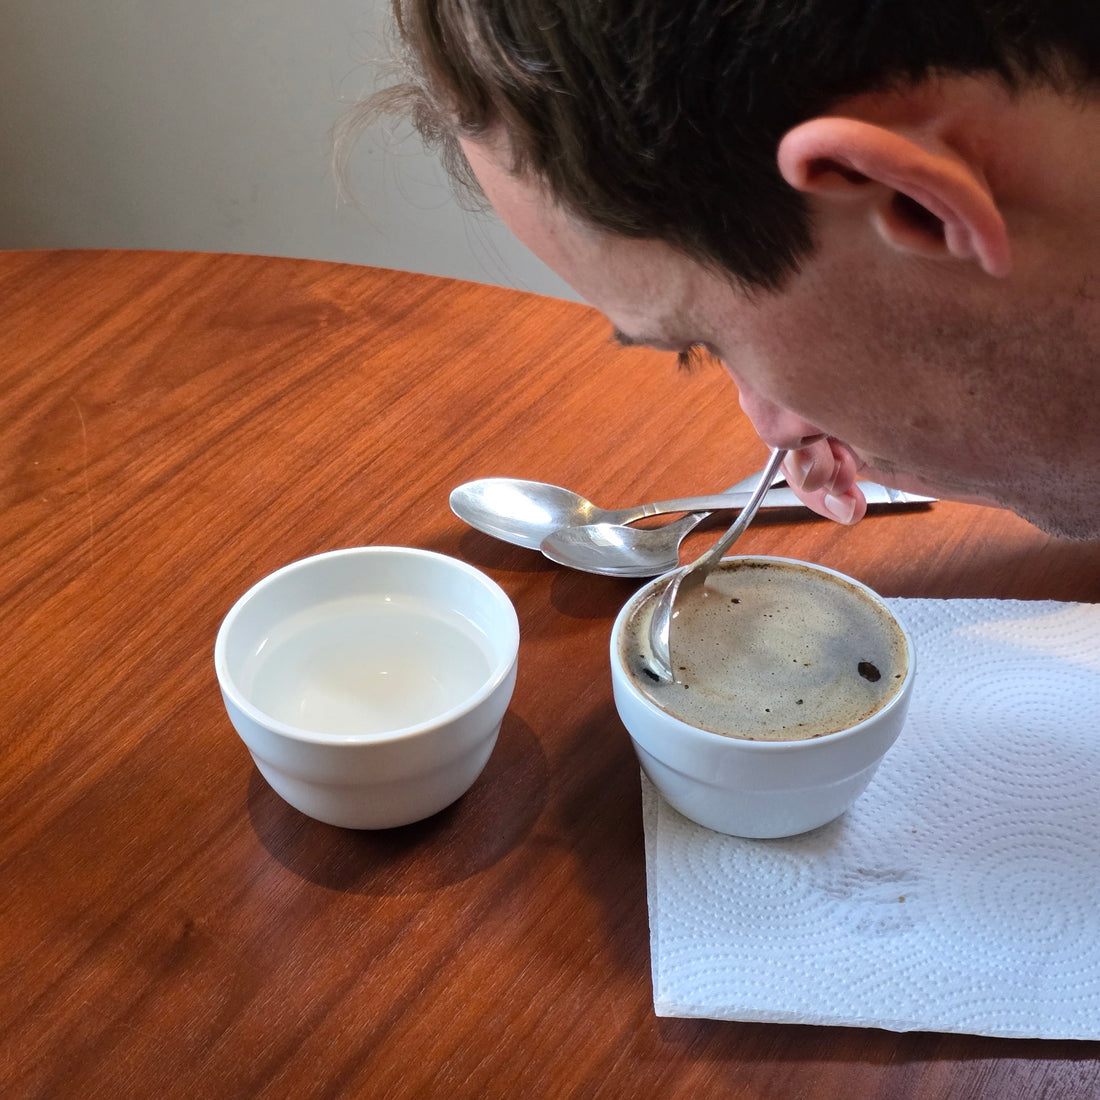
The process involves grinding coffee, placing it in a cup, and pouring hot water directly over it. The grounds steep in the water, forming a crust on the surface. After four minutes, this crust is gently broken with a spoon, further releasing the coffee’s aromas. Once the grounds settle, the top of the cup is ‘cleaned’ using two spoons. Finally the coffee is tasted with a cupping spoon, which is rinsed in hot water before moving between samples.
Cupping is straightforward and requires no fancy equipment, making it accessible for anyone to try at home. It’s a great way to explore how different coffees taste and learn more about your favourite brew.
A standard cupping setup
At a professional coffee roastery the following equipment and criteria may be used, all of which can be adapted for a simpler home setup.
The cup
These are typically ceramic bowls of capacity between 200-250mL. In a professional setting a set of 4 bowls per coffee may be used to check for consistency across several brews.
At home, any similar cup suitable for a hot beverage can be used, but the same cup should be used for each coffee in the cupping.
Coffee to water ratio
A coffee to water ratio of 60 grams per 1 litre of water is standard. For a vessel holding 200mL, 12 grams of coffee would be used.
The coffee
The coffee is typically roasted the day before the cupping using a simple standardised roasting profile or recipe. The roast profile, or recipe is usually kept the same between samples – to remove the roast profile as a variable. The Specialty Coffee Association also provides guidelines for roast time (8-12 minutes) and roast level (Agtron Gourmet 62-64), but these are less commonly observed.
The coffee should be ground shortly before the cupping to a medium-coarse consistency, slightly courser than is usually used for pour-over filter coffee.
The water
The cupping water should meet the requirements listed in the SCA Standard 'Water for Brewing Specialty Coffee', which sets guidelines for the hardness and alkalinity of the water. This can be difficult to achieve at home. One method to do this is to start with distilled water and re-mineralise. This is costly and time consuming, so a more practical approach is just to use some at home water filtration to improve the quality of the tap water.
The water temperature should be 92-94°C when poured on grounds. At home this can simply mean leaving the kettle for 1 minute after brewing.
A simple cupping procedure for home
Here is a simple cupping procedure for home, based on cupping four different coffees side by side.
You need
- 4 cupping bowls, or 4 identical cups suitable for hot water with capacity around 200-250mL
- 4 additional cups for cleaning
- A coffee cupping spoon, or a soup spoon, for tasting
- 2 table spoons for cleaning the top of the cupping bowls
- A stopwatch or timer
Step One: Prepare your cupping bowls and weigh the coffee
Place four identical cupping bowls (or cups with capacity of at least 200mL, suitable for hot water) alongside each other. Weigh 12 grams of each coffee sample. Place rinsing cups next to the cupping bowls on the table.

Step Two: Grind your coffee
Grind the coffees to a medium-course grind size (slightly courser than usually used for a pour-over filter). Take a moment to smell and observe the ground coffee.

Step Three: Boil the kettle
Bring the kettle to the boil and fill the four rinsing cups. Fill the kettle with water suitable for coffee brewing and bring to the boil again.
Step Four: Pour
Start a timer. Pour the just boiled water into the cupping bowls in a steady manner, thoroughly wetting all the grounds. Leave the cups for 4 minutes.

Step Five: Break
After 4 minutes have passed, break the crust with a cupping spoon, passing the spoon through the coffee 3 times. Bring your nose close to the cup as you do this to enjoy the aroma of the coffee.

Step Six: Clean
Using the two table spoons, skim the top of the cups to remove and discard any remaining residue/crust from the top of the cupping bowl.

Step Seven: Taste
As the coffee cools, use your cupping spoon to taste the coffee. It can be useful to have a pre-determined framework to work through as you taste the coffee. We like to focus on acidity first, then body, then flavours. Move between the coffee samples rinsing the spoon before you taste a new sample. As the coffee cools the tasting experience will evolve, so it is best to take your time.

